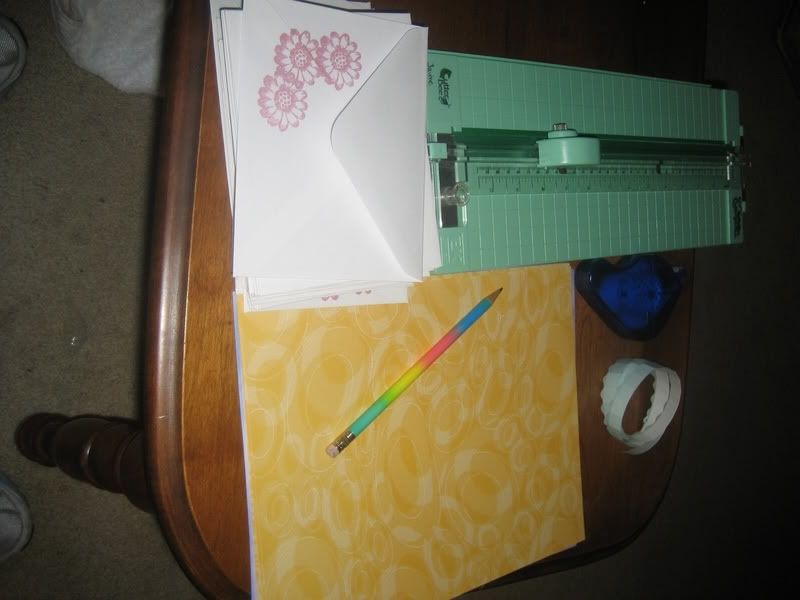
Here are my supplies - paper cutter, pencil, envelopes and a tape runner. I suggest using lightweight paper. You don't want to add weight to your envelope and you want to be able to fold it easily as well as fit the card back in there.
The first thing I did was trace the envelope. If you look close you can see the outline. I should have done this on the white side so you could see it easier!

Then you want to reduce the width by 1/4". This allows it to slide into the envelope easily.
The tricky part is how tall to have the liner. What I did was measure the glue on the envelope and measured down that far. Mine was just over 1/2".
The cutting can also be tricky. I just used my paper cutter for all edges. But you want to mark on the template you're making where the fold will be. This will allow you to figure out the angle of the triangle.
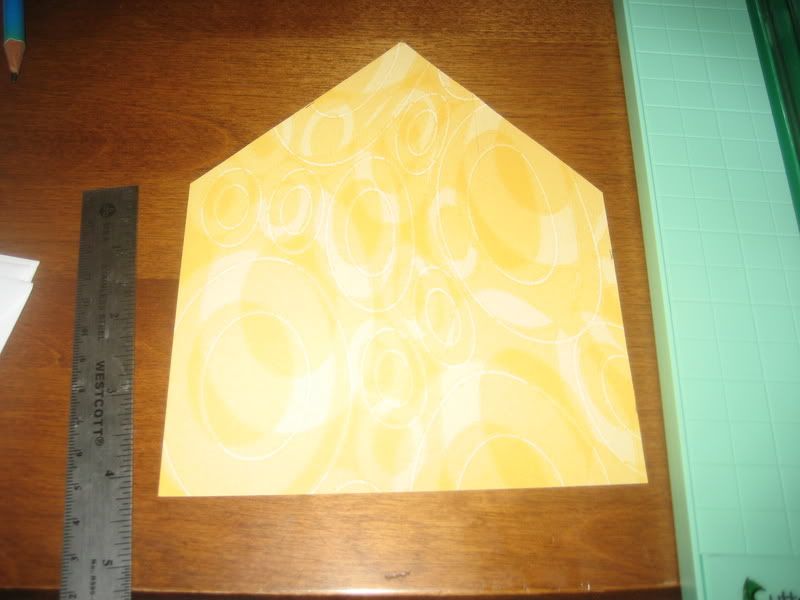 Once you get the angle, you'll end up with your template. This might take a couple of tries to get it right. Don't get discouraged! I marked the tip of the triangle and the two sides and used the paper cutter to line them up. Try putting it in the envelope and make sure it looks right.
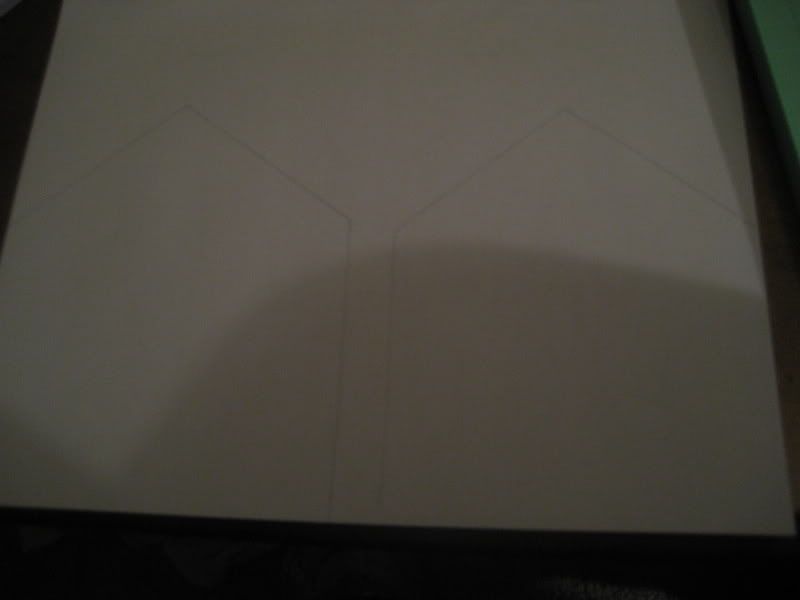
I then used that template to trace all the other ones I needed. I had 8.5x11 paper and I was able to get two to the page, hopefully you can see the tracings.
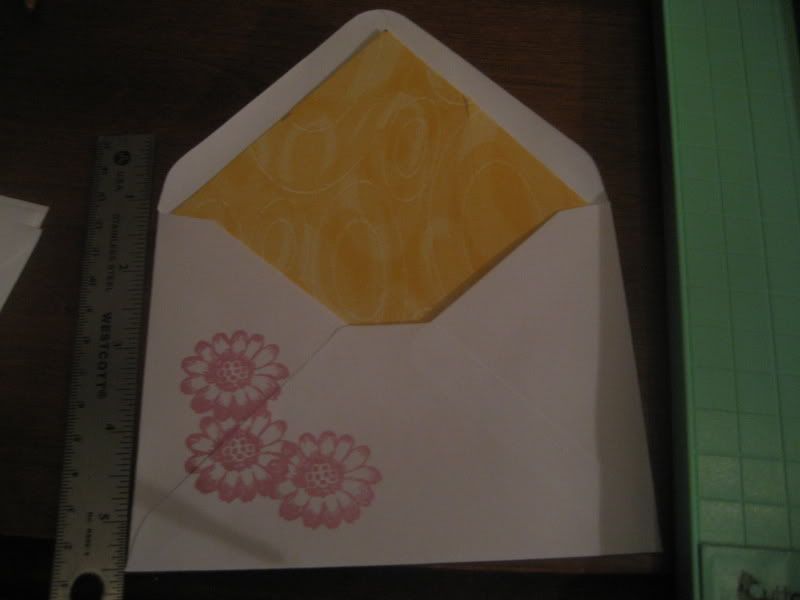
Next you'll slide the cut out into the envelope. I like to make sure the corner of the liner lines up with the fold of the card.
 Fold down the flap and make a crease. Then lift up the envelope flap, leaving the liner laying down.
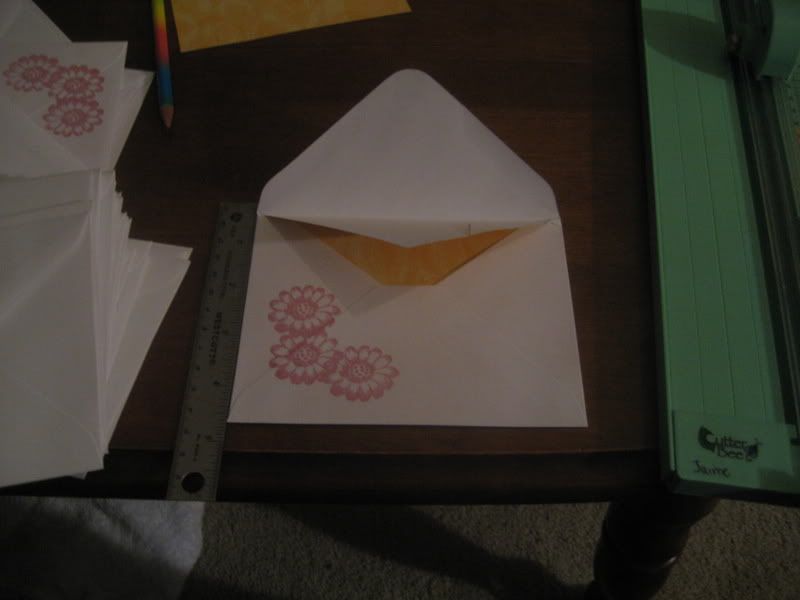
I used a tape runner to add adhesive to the liner. Then simply fold over the envelope and rub it a few times to make sure it will lay flat.
The instructions might sound a little confusing, but I assure you, it's quite easy. Let me know if you have any questions!
123.JPG)
No comments:
Post a Comment